Step 3: Create a blog post
4-step open source tutorial to easily build your scientific blog and market yourself
Add our first blog post
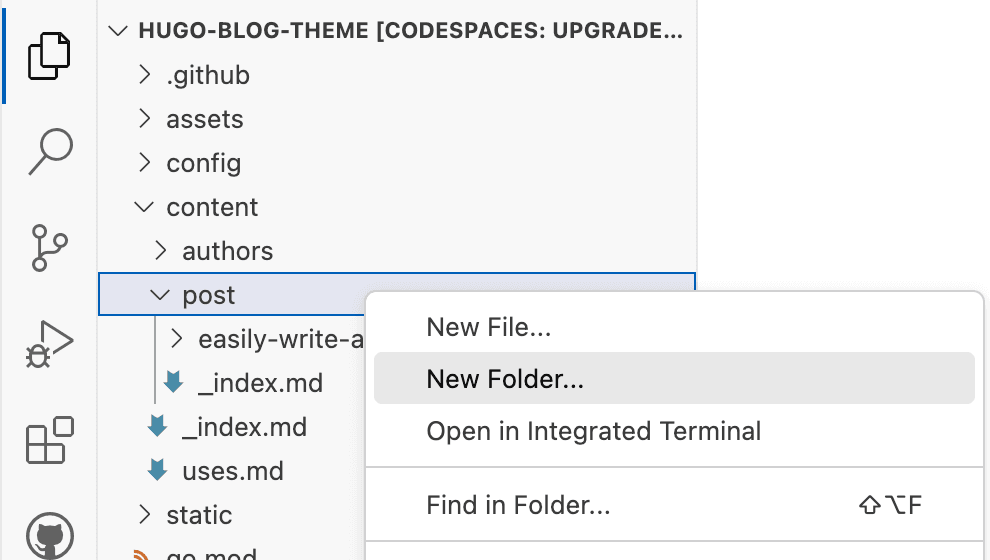
Head over to the left sidebar and right-click on content > post to create a New Folder for our blog post:
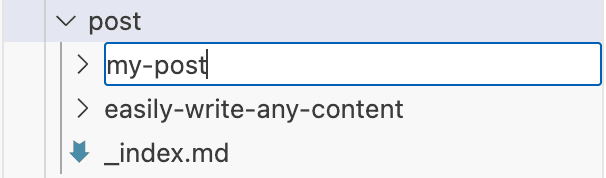
Name the folder how you would like the URL of the blog post to appear (use lowercase and use hyphen instead of space):
Then create the blog post within the new folder:
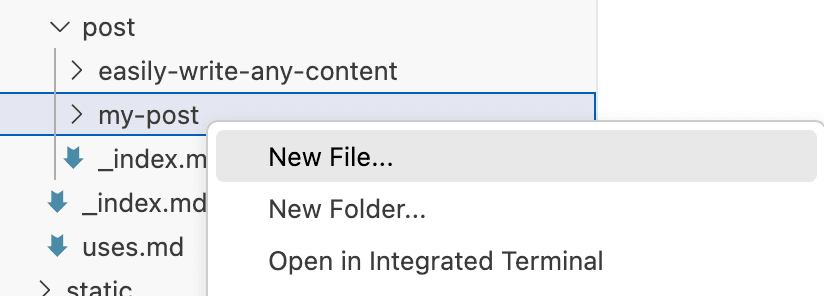
And name the file index.md:

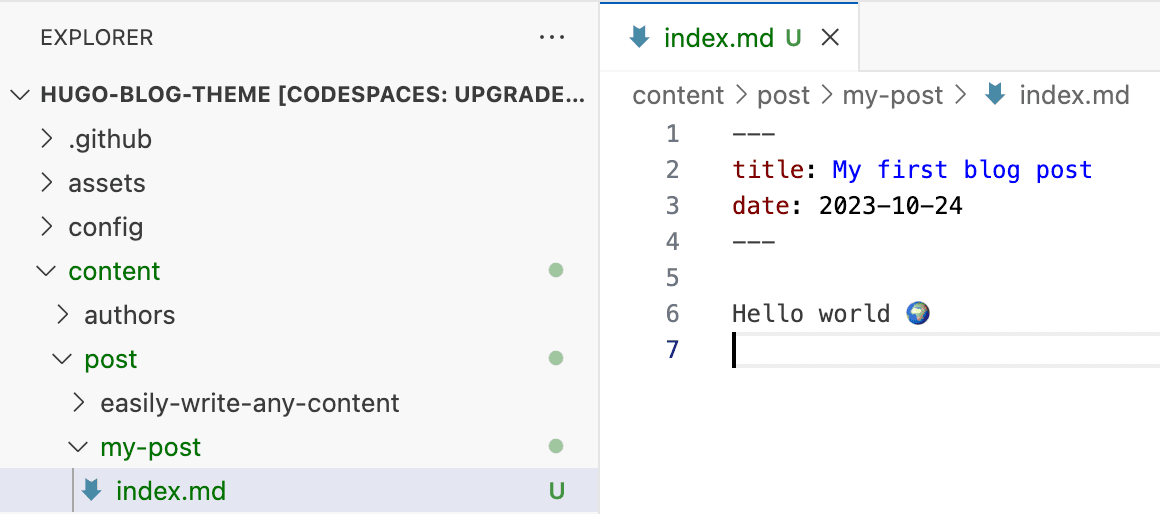
Now let's add the content of our first blog post.
Simply add the title of the blog post, the date (in the format shown), and some Markdown-formatted content in the body of the file (after the last ---):
Then save the page by clicking on the three bars in the top left and File > Save (or ctrl + s keyboard shortcut).
Add an image
If you want to add a featured image, drag and drop an image named featured from your computer to your blog post's folder in the editor.
Was this page helpful?
Step 2: Cloud Editor
Open your website in GitHub Codespaces for a zero-install editing experience.
Step 4: Auto Import Jupyter Notebooks as Blog Posts
4-step open source tutorial to easily build your blog and market yourself
From the makers of
© 2026 Lore Labs.